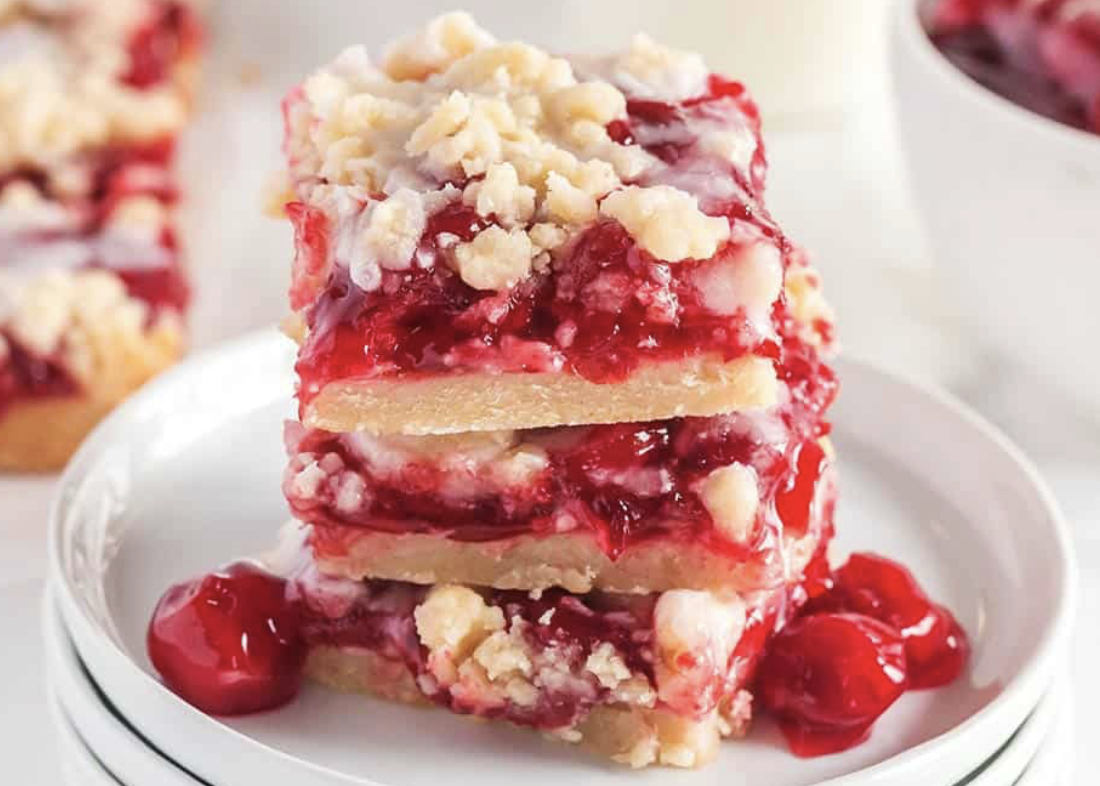
Cherry Pie Bars are a delightful twist on the classic cherry pie. They combine the irresistible flavors of sweet cherries and a buttery, shortbread-like crust in a convenient bar form. This recipe is perfect for those who love the taste of cherry pie but want the ease of a bar dessert. Ideal for gatherings, picnics, or as a sweet treat with your afternoon coffee, these bars are not only delicious but also visually appealing. The rich, red cherry filling against the golden crust makes them a tempting addition to any dessert table. The simplicity of the recipe and the common ingredients required make it a great choice for both novice and experienced bakers. Let’s dive into this mouth-watering recipe that’s sure to become a favorite.
Why We Love This Recipe
- Simplicity: Easier to make than a traditional pie, with no need for a pie tin.
- Shareable: Ideal for serving a crowd, as it can be cut into multiple bars.
- Flavorful: The mix of cherry, almond, and vanilla flavors is delightful.
- Versatile: Can be served as a dessert, snack, or even a special breakfast treat.
Ingredients
- Crust & Topping:
- 1 cup unsalted butter, softened
- ¾ cup granulated sugar
- 1 teaspoon vanilla extract
- ½ teaspoon almond extract
- 2 cups all-purpose flour
- ½ teaspoon baking powder
- ¾ teaspoon fine sea salt or table salt
- Filling:
- 21 ounces cherry pie filling (1 can)
- Glaze:
- ½ cup powdered sugar
- ¼ teaspoon almond extract (or vanilla extract)
- 1 Tablespoon milk (or cream)
Instructions
- Preheat Oven & Prepare Pan: Preheat your oven to 350°F (175°C). Grease a 9×13 inch baking pan or line it with parchment paper for easy removal.
- Make the Dough: In a large bowl, cream together the softened butter and granulated sugar until light and fluffy. Mix in the vanilla and almond extracts. Gradually add the flour, baking powder, and salt, mixing until just combined.
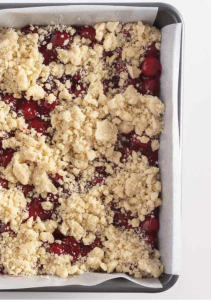
- Assemble the Bars: Press two-thirds of the dough into the prepared pan, forming an even layer. Spread the cherry pie filling over the dough. Crumble the remaining dough over the cherry layer.
- Bake: Bake in the preheated oven for 35-40 minutes or until the top is lightly golden brown.
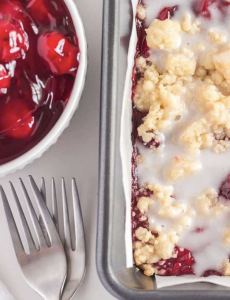
- Prepare the Glaze: While the bars are cooling, whisk together the powdered sugar, almond (or vanilla) extract, and milk or cream until smooth.
- Finish & Serve: Drizzle the glaze over the cooled bars. Cut into squares and serve.
Storage
- Room Temperature: Once cooled, cherry pie bars can be stored at room temperature for up to 2 days. Ensure they are kept in an airtight container to maintain freshness and prevent them from drying out.
- Refrigeration: For longer storage, you can refrigerate the bars. Place them in an airtight container and they will keep for up to a week. The cool temperature will help preserve the texture and flavor of the filling and base.
- Freezing: Cherry pie bars freeze exceptionally well. To freeze, first allow the bars to cool completely. Then, cut them into portions and wrap each piece individually in plastic wrap, followed by a layer of aluminum foil or place them in a freezer-safe container. Properly stored, they can last in the freezer for up to 3 months. Thaw at room temperature or in the refrigerator before serving.
- Avoiding Sogginess: If you’re storing them in the refrigerator or at room temperature, placing a piece of parchment paper between layers of bars can help prevent them from sticking together and becoming soggy.
- Reviving the Bars: If the bars become a bit stiff after storage, you can briefly warm them in a microwave for a few seconds before serving to bring back some of their original texture and warmth.
Remember, the key to successfully storing cherry pie bars, or any baked goods, is ensuring they are completely cool before you pack them away. This prevents condensation inside the container, which can lead to sogginess.
Notes
- Butter Consistency: Ensure that the butter is softened but not melted. This helps in achieving the right texture for the base of the bars.
- Almond Extract: Almond extract adds a delightful depth to the flavor. However, if you’re not a fan or have allergies, you can replace it with an equal amount of vanilla extract.
- Cherry Pie Filling: While canned cherry pie filling is convenient and recommended for this recipe, feel free to use homemade filling if you prefer.
- Flour Measurement: For accuracy, spoon the flour into the measuring cup and level it off. Do not scoop directly from the container, as this can lead to using too much flour and result in a drier base.
- Glaze Consistency: Adjust the consistency of the glaze to your liking by adding more or less milk. It should be pourable but not too runny.
- Serving Suggestion: These bars are best served at room temperature or slightly warmed.
- Variations: Feel free to experiment with different types of pie fillings such as blueberry, apple, or raspberry for variety.
- Storing: Store the bars in an airtight container to keep them fresh. You can keep them at room temperature for a few days or refrigerate for longer storage.
- Freezing: These bars can be frozen for later use. Just make sure to wrap them well to prevent freezer burn.
Remember, baking is both an art and a science. Feel free to adjust the recipe slightly to suit your taste, but keep in mind that major changes might affect the final result.
FAQs
- Can I use a different type of fruit filling?
- Yes, you can substitute the cherry pie filling with other fruit fillings such as blueberry, apple, or raspberry. The recipe is versatile and works well with various flavors.
- Is it possible to make these bars gluten-free?
- Yes, you can make them gluten-free by using a gluten-free all-purpose flour blend in place of regular all-purpose flour. However, the texture might be slightly different.
- Can I make the cherry pie bars dairy-free?
- To make them dairy-free, use a dairy-free butter alternative. Be aware that this may slightly alter the flavor and texture of the bars.
- How do I know when the bars are done baking?
- The bars are done when the edges are lightly golden and the center is set. Avoid overbaking, as this can dry them out.
- Can I make these bars in advance?
- Yes, cherry pie bars can be made a day or two in advance. Just store them in an airtight container at room temperature or in the refrigerator.
- How do I get clean cuts when slicing the bars?
- For clean cuts, use a sharp knife and wipe it clean with a damp cloth between cuts. Chilling the bars before cutting can also help.
- Can I double the recipe?
- Yes, the recipe can be doubled. Just use a larger pan, like a 9×13 inch, and slightly adjust the baking time as needed.
- Is it necessary to use both vanilla and almond extracts?
- While the combination of both extracts provides a depth of flavor, you can use only one if you prefer. Just replace the other with an equal amount of the extract you’re using.
- What’s the best way to store leftovers?
- Leftover cherry pie bars should be stored in an airtight container at room temperature for up to 2 days or refrigerated for up to a week.
- Can I add nuts or other mix-ins to the batter?
- Yes, you can add nuts, chocolate chips, or other mix-ins to the batter. Just be mindful of the quantities so as not to overwhelm the base and filling balance.
Conclusion
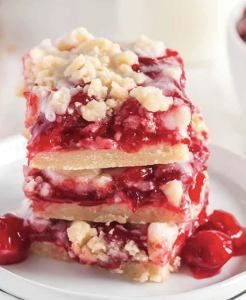
In conclusion, cherry pie bars offer a delightful and convenient twist on the classic cherry pie. They’re perfect for those who love the taste of cherry pie but are looking for something easier to share and enjoy. This recipe, with its buttery base, sweet-tart cherry filling, and a hint of almond flavor, is sure to be a crowd-pleaser. Whether it’s for a family gathering, a picnic, or just a special treat, these bars are a great choice.
Remember, the success of this recipe lies in the quality of the ingredients and the care taken in each step, from preparing the dough to applying the glaze. The storage tips ensure that you can enjoy these bars at their best over several days. Whether you’re a seasoned baker or new to the kitchen, this recipe is straightforward and rewarding. Happy baking!